
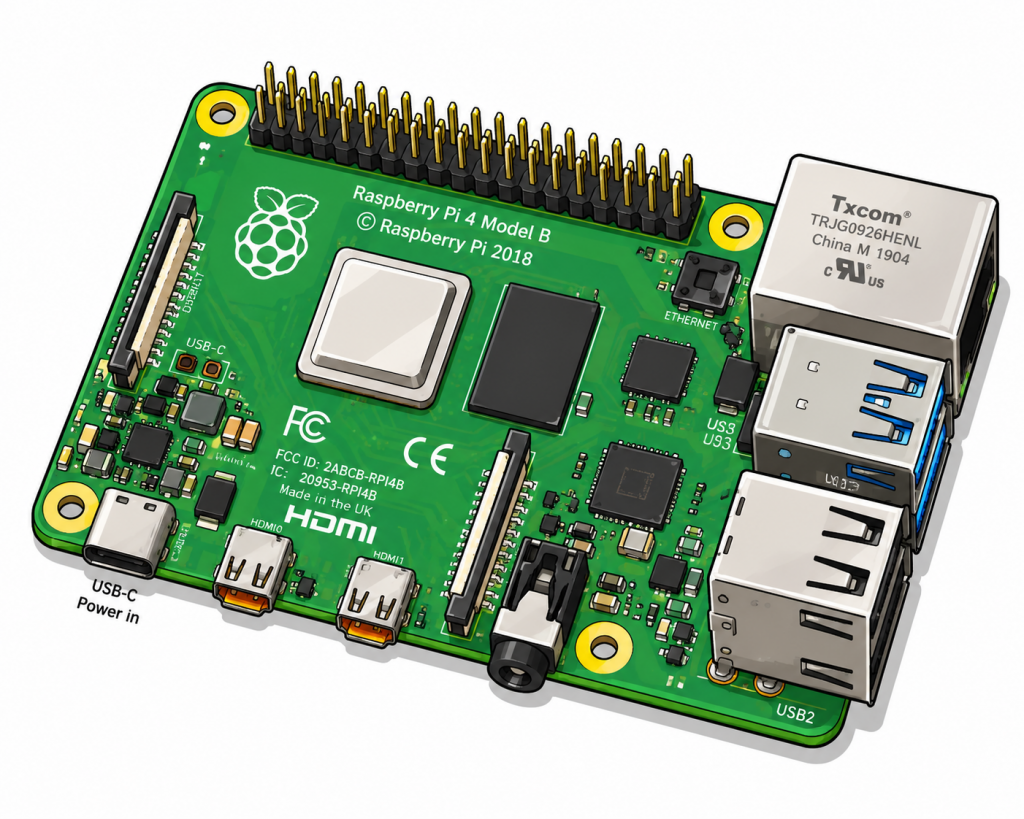
Introduction
If you are running Nextcloud (an open source private Cloud platform) on a Raspberry Pi 4, securing it with an SSL certificate is essential because it encrypts traffic between your browser and your server, and it’s required for many Nextcloud features like mobile sync and WebAuthn security keys to work properly.
This guide walks you through getting a free SSL certificate from Let’s Encrypt and configuring Apache to serve Nextcloud over HTTPS. By the end, your Nextcloud instance will be accessible at https://yoursubdomain.exampledomain.net with automatic certificate renewal.
Requirements
- Nextcloud already installed on a Raspberry Pi 4 running Raspbian/Raspberry Pi OS
- Apache as your web server
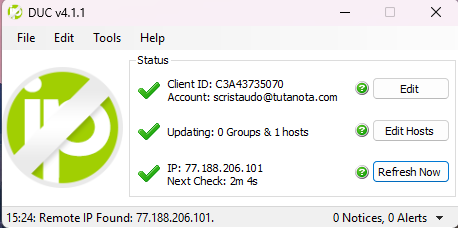
- A domain or subdomain pointing to your server’s public IP (e.g. via No-IP, DuckDNS, or a DNS provider)

*The “A” record will update over a lightweight software program that automatically keeps your custom domain name pointed to your network’s public IP address. It overcomes the problem of Internet Service Providers (ISPs) periodically changing your home or office IP address (Dynamic IPs).
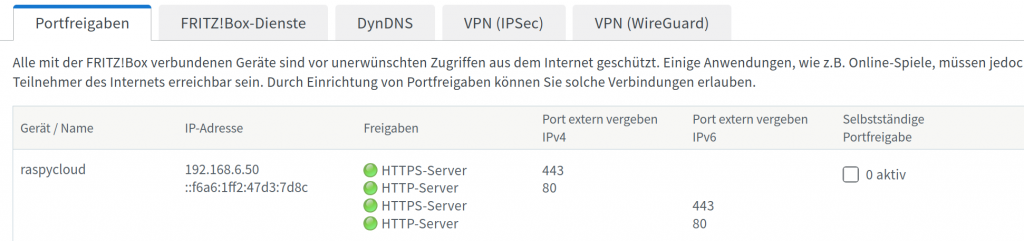
- Ports 80 and 443 forwarded to your Raspberry Pi (in my case the hostname is raspycloud) on your ISP router (O2, Vodafon, Fritzbox etc..)
- Root or sudo access
Step 1: Make sure your new Domain Points to your ISP Router public IP
Before requesting a certificate, Let’s Encrypt needs to reach your server via your domain name. Verify your subdomain resolves correctly the Internet Service Provider public IP you have assigned (you can obtain the assigned public ip directly from your router or visit the page my-connection-info). If not, check your dynamic DNS settings and wait for propagation (usually a few minutes with No-IP or DuckDNS).
Also confirm ports 80 and 443 are reachable from the internet. If not check your router’s port forwarding settings and make sure no firewall is blocking them.
You can test both resolution and Port reachability from Powershell (TestNetConnection):
tnc yoursubdomain.exampledomain.net -port 80
tnc yoursubdomain.exampledomain.net -port 443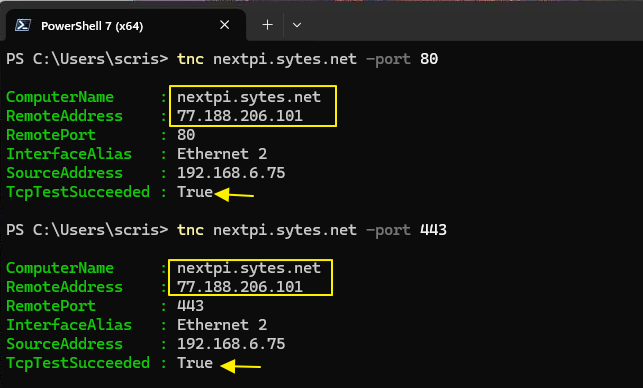
or in Linux environment you can use the powerful netcat tool from a bash terminal:
nc -v -w5 yoursubdomain.exampledomain.net 80 443 
Step 2: Install Certbot
You start to login in the Raspberry pi via ssh from your local network:
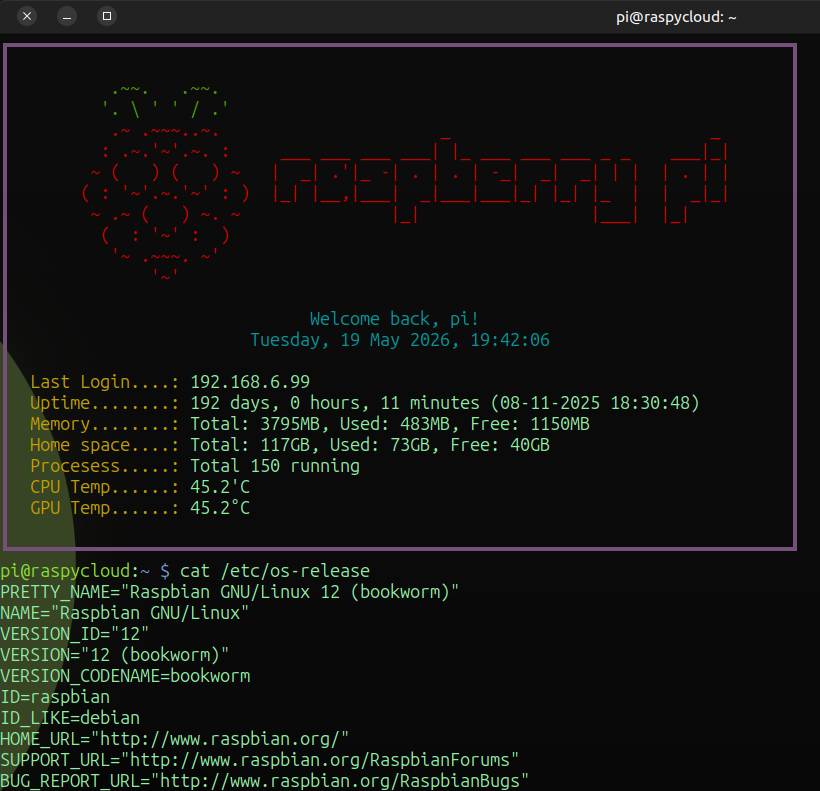
Certbot is the official Let’s Encrypt client. We can Install it along with the Apache plugin.
sudo apt update
sudo apt install certbot python3-certbot-apache -y
Step 3: Create an Apache VirtualHost for your Domain
Apache needs to know about your domain before Certbot can verify it. Check what’s currently configured.
Optional: before create the new VirtualHost, lists all the currently active website configurations on your Apache server and find where the files for each website are stored on disk:
sudo ls /etc/apache2/sites-enabled/ # list active website configurationssudo grep -r "DocumentRoot" /etc/apache2/ # Searches recursively through all Apache config files for the DocumentRoot directive Create the new VirtualHost configuration:
sudo vim /etc/apache2/sites-available/nextpi.conf<VirtualHost *:80>
ServerName nextpi.systes.net # ---------> Replace it with your domain <--------#
DocumentRoot /var/www/nextcloud
# Allow ACME challenge for Let's Encrypt certificate verification
Alias /.well-known/acme-challenge/ /var/www/html/.well-known/acme-challenge/
<Directory /var/www/html/.well-known/acme-challenge/>
Options None
AllowOverride None
Require all granted
</Directory>
<Directory /var/www/nextcloud>
Options Indexes FollowSymLinks
AllowOverride All
Require all granted
</Directory>
</VirtualHost>Save the configuration file, enable the site and reload Apache:
sudo a2ensite nextpi.conf
sudo systemctl reload apache2
Step 4: Prepare the ACME (Automated Certificate Management Environment) Challenge Directory
The next step is to create the directory that Let’s Encrypt will use to verify your domain ownership, and make sure Apache can write to it:
sudo mkdir -p /var/www/html/.well-known/acme-challenge
sudo chown -R www-data:www-data /var/www/html/.well-known
Test that the path is reachable from the internet before running Certbot:
echo "test" | sudo tee /var/www/html/.well-known/acme-challenge/test.txt
curl http://yoursubdomain.exampledomain.net/.well-known/acme-challenge/test.txt
You should get test back. If you get a redirect or error, double-check your Apache config and router port forwarding.

Clean up the test file once confirmed:
sudo rm /var/www/html/.well-known/acme-challenge/test.txtStep 5: Request Your SSL Certificate
Now run Certbot using the webroot method. This works without stopping Apache:
sudo certbot certonly --webroot -w /var/www/html -d yoursubdomain.exampledomain.netYour certificate files are now at:
- Certificate:
/etc/letsencrypt/live/yoursubdomain.exampledomain.net/fullchain.pem - Private key:
/etc/letsencrypt/live/yoursubdomain.exampledomain.net/privkey.pem
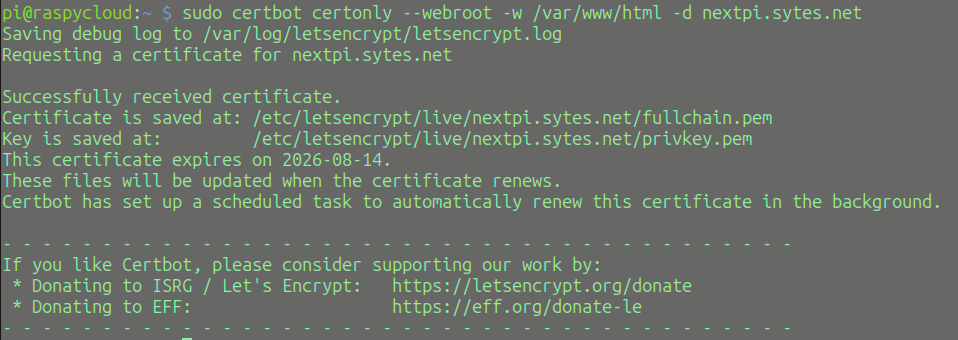
Step 6: Configure HTTPS in Apache
Now create a full VirtualHost configuration with HTTPS. This will also redirect all HTTP traffic to HTTPS automatically:
sudo nano /etc/apache2/sites-available/nextpi.conf# HTTP — redirect to HTTPS, but allow Let's Encrypt renewal challenges through
<VirtualHost *:80>
ServerName nextpi.systes.net # ---------> Replace it with your domain <--------#
Alias /.well-known/acme-challenge/ /var/www/html/.well-known/acme-challenge/
<Directory /var/www/html/.well-known/acme-challenge/>
Options None
AllowOverride None
Require all granted
</Directory>
RewriteEngine On
RewriteCond %{REQUEST_URI} !^/.well-known/acme-challenge/
RewriteRule ^ https://%{HTTP_HOST}%{REQUEST_URI} [R=301,L]
</VirtualHost>
# HTTPS — serve Nextcloud securely
<VirtualHost *:443>
ServerName nextpi.systes.net # ---------> Replace it with your domain <--------#
DocumentRoot /var/www/nextcloud
SSLEngine on
SSLCertificateFile /etc/letsencrypt/live/yoursubdomain.exampledomain.net/fullchain.pem
SSLCertificateKeyFile /etc/letsencrypt/live/yoursubdomain.exampledomain.net/privkey.pem
# Modern SSL settings — disables old insecure protocols
SSLProtocol all -SSLv3 -TLSv1 -TLSv1.1
SSLCipherSuite ECDHE-ECDSA-AES128-GCM-SHA256:ECDHE-RSA-AES128-GCM-SHA256:ECDHE-ECDSA-AES256-GCM-SHA384:ECDHE-RSA-AES256-GCM-SHA384
SSLHonorCipherOrder off
<Directory /var/www/nextcloud>
Options Indexes FollowSymLinks
AllowOverride All
Require all granted
</Directory>
ErrorLog ${APACHE_LOG_DIR}/nextcloud-error.log
CustomLog ${APACHE_LOG_DIR}/nextcloud-access.log combined
</VirtualHost>
Enable SSL, enable the new config, and reload Apache:
sudo a2enmod ssl
sudo a2ensite nextpi.conf
sudo systemctl reload apache2
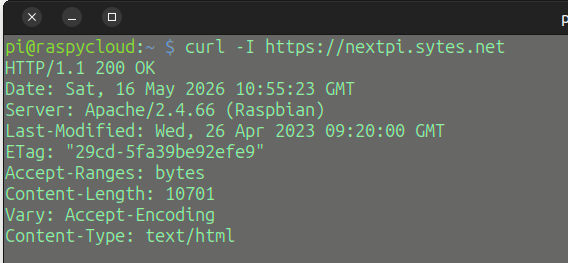
Verify HTTPS is working:
curl -I https://yoursubdomain.exampledomain.netYou should get HTTP/1.1 200 OK with no SSL errors.
Step 7: Add your Domain to Nextcloud’s Trusted Domains
As default Nextcloud rejects requests from domains it doesn’t recognize. Add your domain to its trusted list:
sudo vim /var/www/nextcloud/config/config.phpFind the trusted_domains array and add your domain:
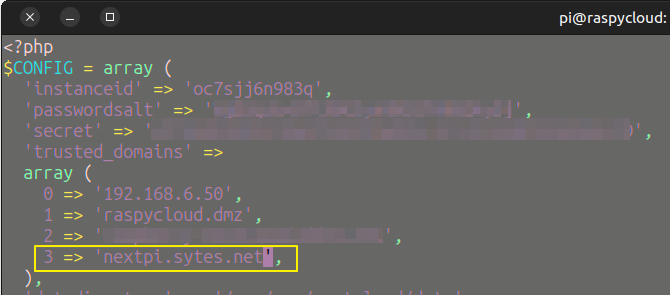
Save the file and test the Nextcloud login page over your favorite browser:
https://yoursubdomain.exampledomain.net/index.php/login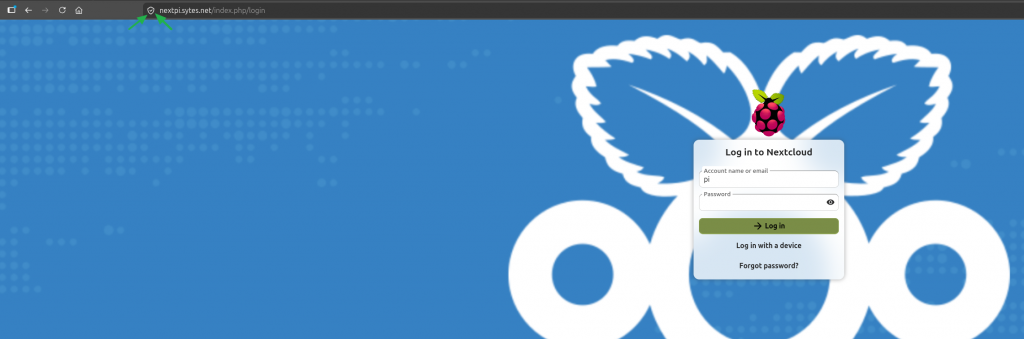
Step 8: Verify Automatic Renewal
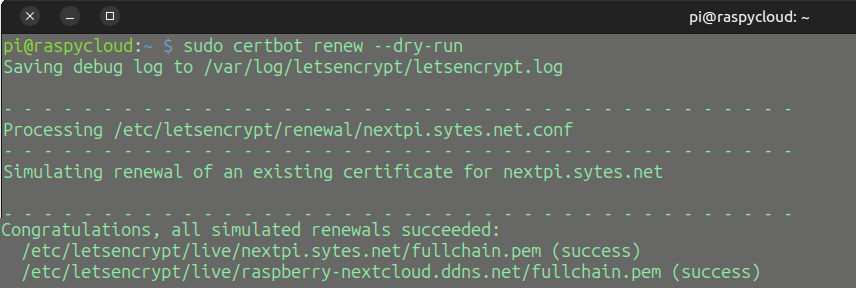
Let’s Encrypt certificates expire after 90 days, but Certbot sets up a systemd timer that automatically renews them when they’re within 30 days of expiry. Check it’s active:
sudo certbot renew --dry-runIf you see Congratulations, all simulated renewals succeeded — you are fully covered and no further action is needed.
Step 9: Nextcloud secured with SSL
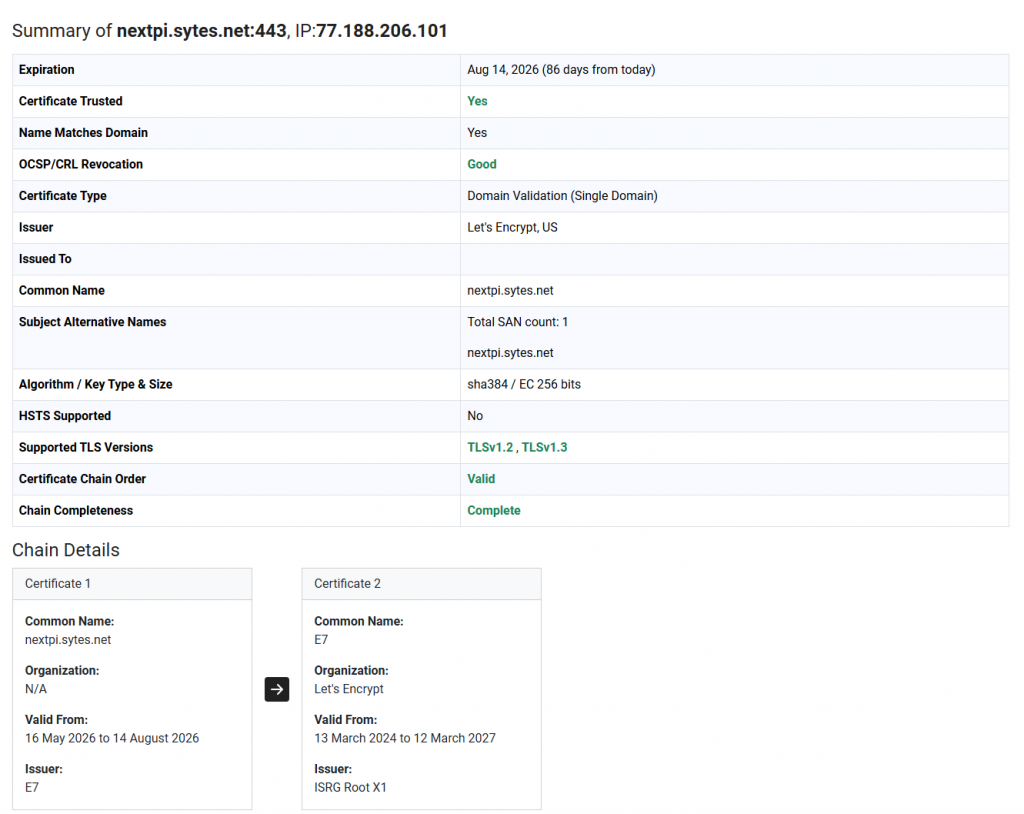
Visit SSL Checker to obtain detailed information about the certificate installed on your Nextcloud instance:
Conclusion
Your Nextcloud instance is now secured with a valid Let’s Encrypt SSL certificate, accessible over HTTPS, and configured to renew automatically. The whole setup — from certificate request to HTTPS redirect — takes under 20 minutes on a Raspberry Pi 4, and once done requires no ongoing maintenance.
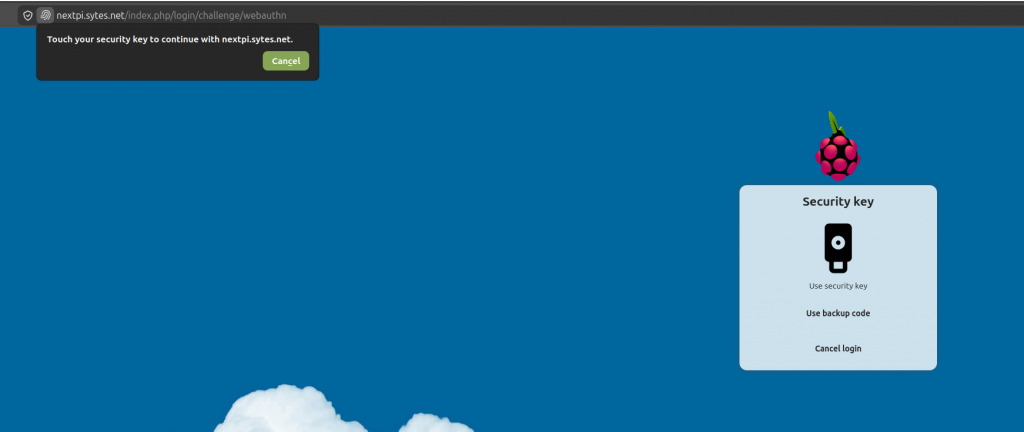
I implemented a Yubico key as an additional security layer for Nextcloud access, providing significantly stronger protection beyond standard SSL/TLS encryption alone. While SSL/TLS secures the communication channel and protects data in transit, the YubiKey adds hardware-based user authentication, ensuring that only authorized users can access the platform. Combining both technologies greatly enhances the overall security of Nextcloud access and reduces the risk of unauthorized login attempts.
About the Author